Pearlman 203
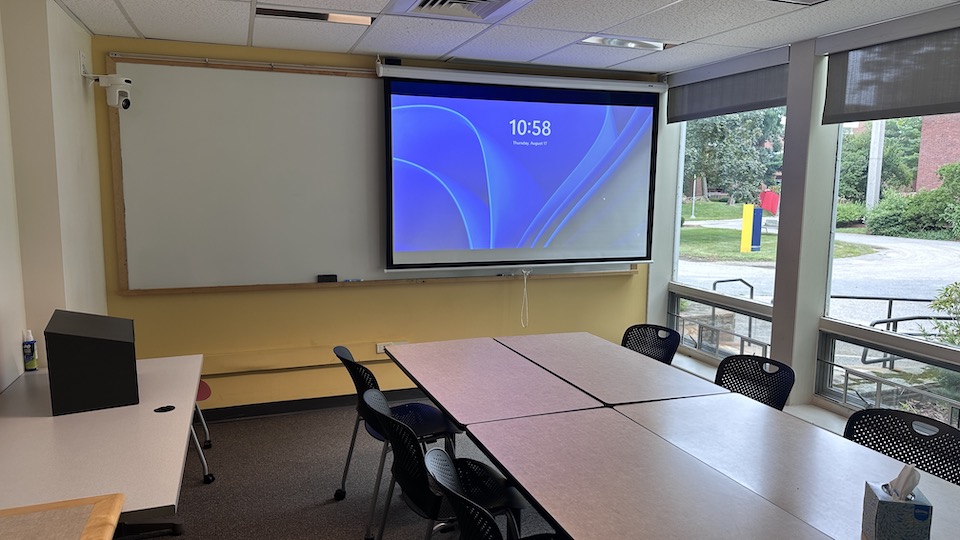
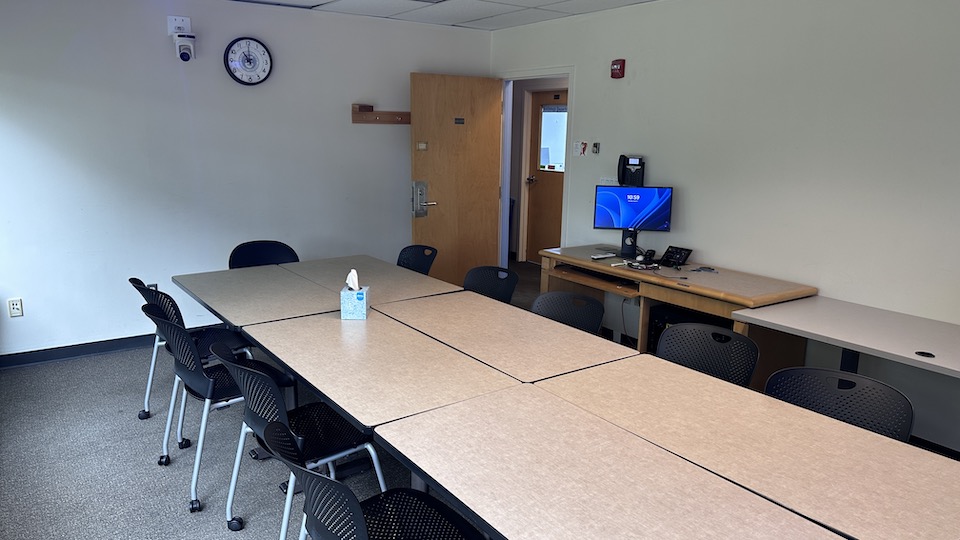
Overview
| Feature | Details |
|---|---|
| Room type | Classroom |
| Max capacity | 13 |
| Display type | Projector/screen |
| Microphone Amplification | No |
| HyFlex | Yes |
| Automated Lecture Capture | No |
Technology Features
Expand All
Displays
- Projector/Screen
Sources
- Installed PC
- Laptop/mobile
- HDMI
- VGA
- Wireless Media
- BluRay/DVD
- Audio/Aux sources
- 3.5mm audio
- Composite A/V (RCA)
Cameras
- 1 auto-tracking pan/tilt/zoom camera
- Facing presenter
- 1 standard pan/tilt/zoom camera
- Facing audience
- Each camera can be controlled via the touch panel at the lectern
Audio
- Audio playback from selected AV source through room's installed speakers.
HyFlex
This classroom is equipped for use of webconferencing or recording applications with the installed cameras and microphones for an optimal HyFlex experience. Zoom is available to all Brandeis users and can be launched on the installed PC or on a user's laptop and access the installed cameras and microphones.
Users can access Zoom to setup meetings at brandeis.zoom.us.
Technology Instructions
Expand All
Displaying Video or Computer Sources

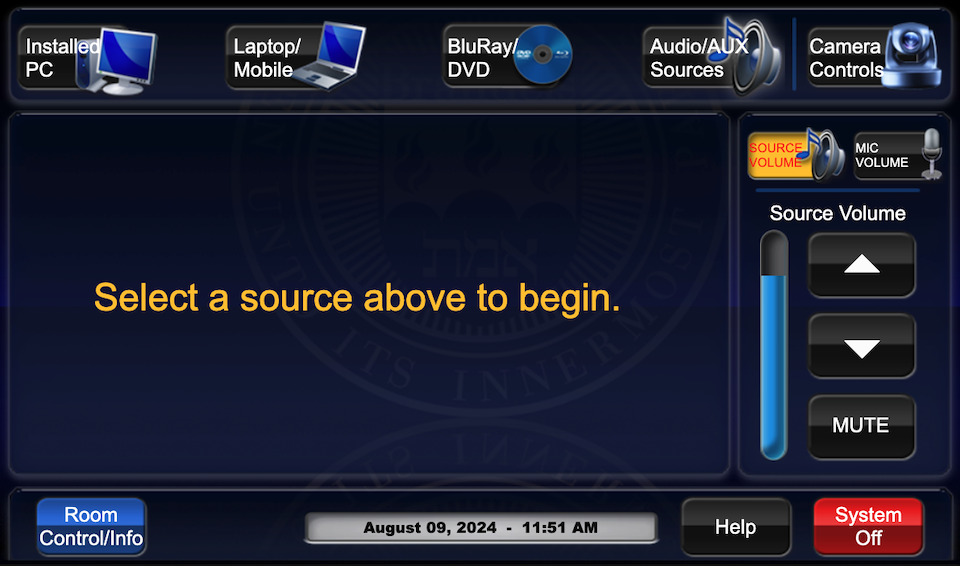
Get started by selecting a source
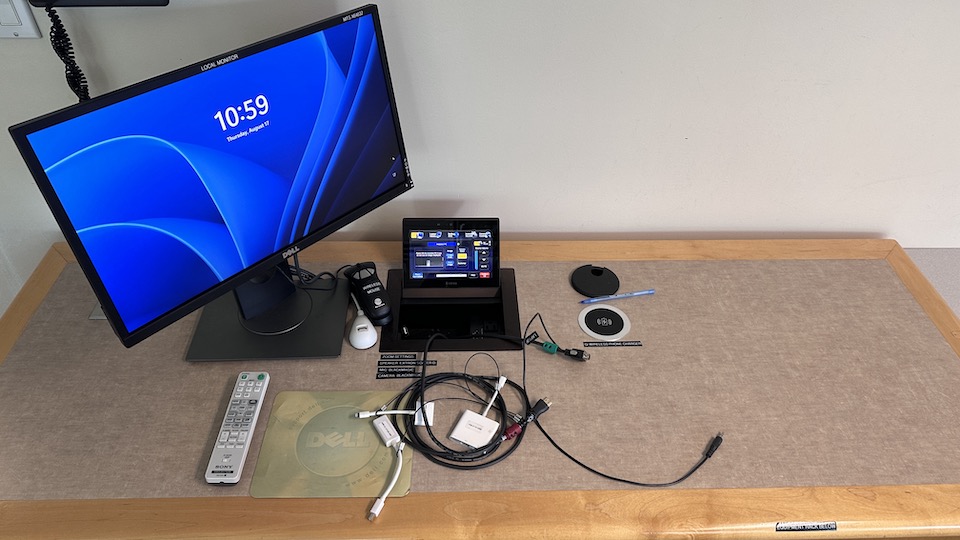
- At the Instructor Desk, tap the touch panel to wake it up and view the home page.
- Select the desired source on the top row of the touch panel.
- The projector will turn on and display the selected source. Controls will not function during projector warm up.
- Once the projector is on, other sources can be selected using the appropriate buttons.
Installed PC
- Select "Installed PC" to route the PC to the projector and rear monitors.
- Audio will automatically route to installed speakers.
- Login to the installed PC with Brandeis UNET credentials
- When finished, log out of computer. Please DO NOT shut down the computer.
Laptop/Mobile
 Select “Laptop/Mobile” and then choose a connection type to match your cable, adapter or wireless device.
- Select a connection method (HDMI, VGA or Wireless Media)
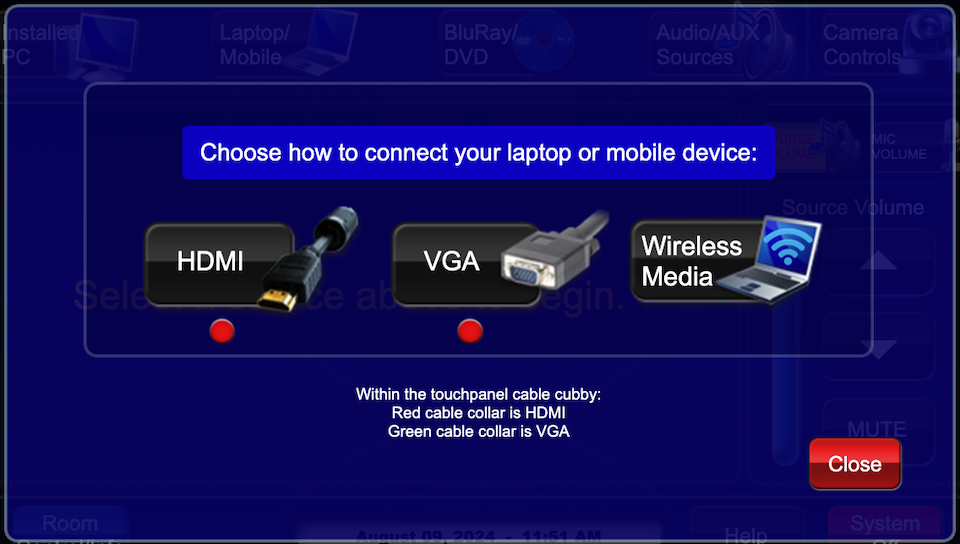 There may be a set of display adapters at the podium, but they can go missing or become damaged. Users are encouraged to bring their own adapters to ensure successful connectivity.
- A USB cable is located at the podium that can be connected to the laptop if use of the classroom's installed cameras or microphones will be used for web conferencing or recording on the connected laptop. By connecting the USB cable to the laptop, the cameras and microphones will become available as sources in the webconferencing or recording application.
Wireless Media
- Select the Wireless Media button on the laptop source selection page.
- Instructions for connecting will display on the projection screen and the touch panel.
- Wireless Media is compatible with laptops (Mac and PC) and mobile devices (iOS and Android).
- Ensure the device is connected to the Eduroam wifi network.
- Laptops: Enter the IP address displayed on the projection screen directly into a web browser.
- iOS and Android devices: Download the app from the app store. See instructions on projection screen for details.
- Follow instructions for the appropriate device, and once connection is initiated, a prompt will display to enter the 4 digit code displayed on the projection screen.
Aux Audio/Video
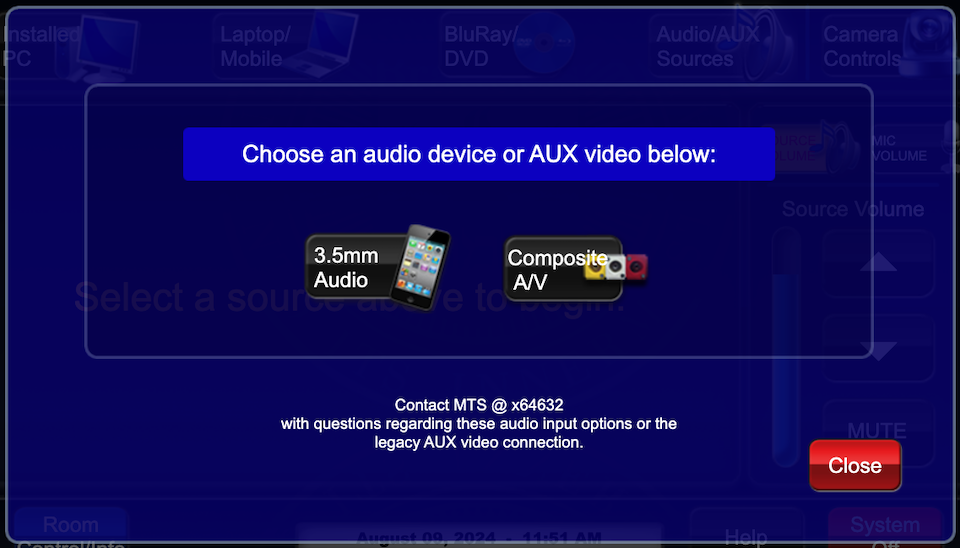
- Select "Audio/AUX Sources" button from main page.

- Allows users to connect an external analog audio or video device to the AV system via a 3.5mm audio jack.
Audio Controls
- The Source Volume controls are located on the right side of the touch panel and control the volume of installed speakers in the room.
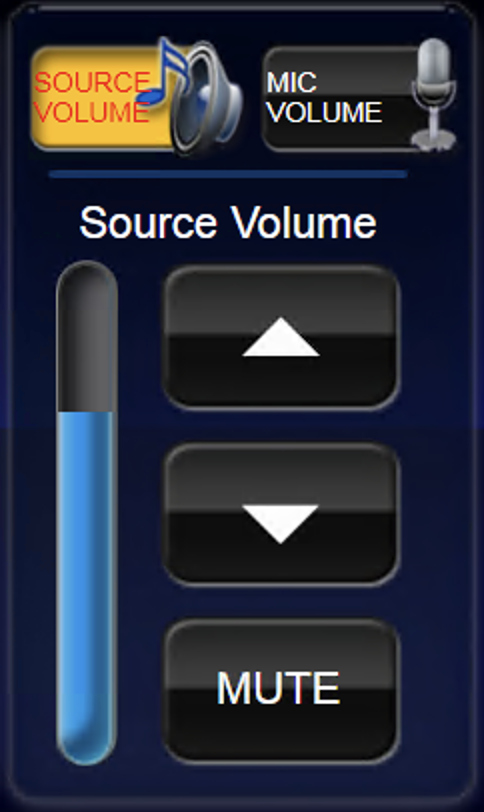
- Raise or lower volume with the up/down arrow buttons.
- Ensure that audio levels are set properly on the source device (i.e. installed PC or laptop). If volume is up on the touch panel but audio level is not present or low, the volume may need to be adjusted on the source device (such as the installed PC or laptop/mobile device).
Camera Controls
-
- Select Camera Control button on home screen.

- Auto-tracking for the presenter-facing camera will default to "ON" when system is turned on. The user has the option to disable tracking from the camera controls screen by selecting "OFF".
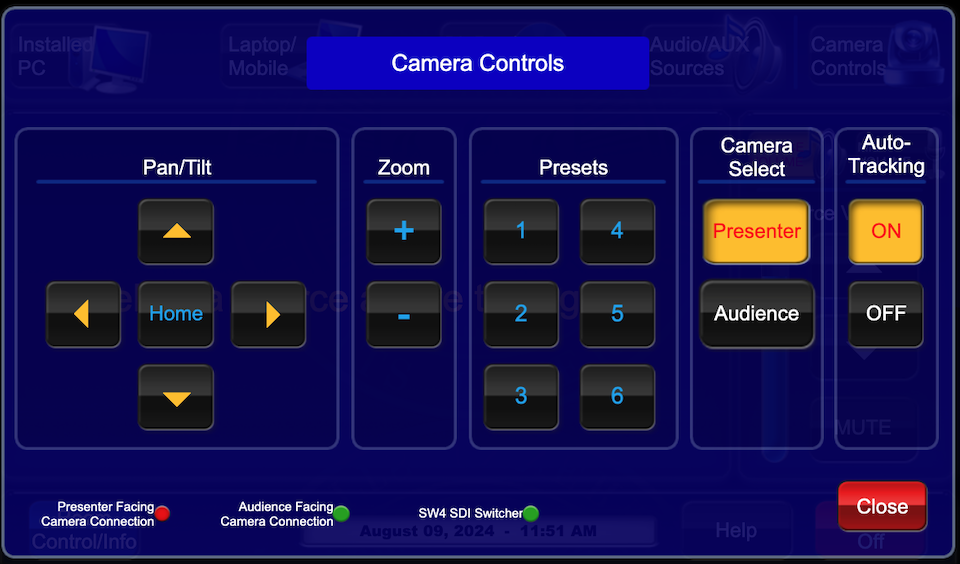
- If auto-tracking is set to OFF, adjust the camera position with the preset buttons or by using the arrows and zoom +/- buttons.
- Control the audience-facing camera by selecting it, and then use the arrow buttons or presets to set the view.
- Select Camera Control button on home screen.
System shut down
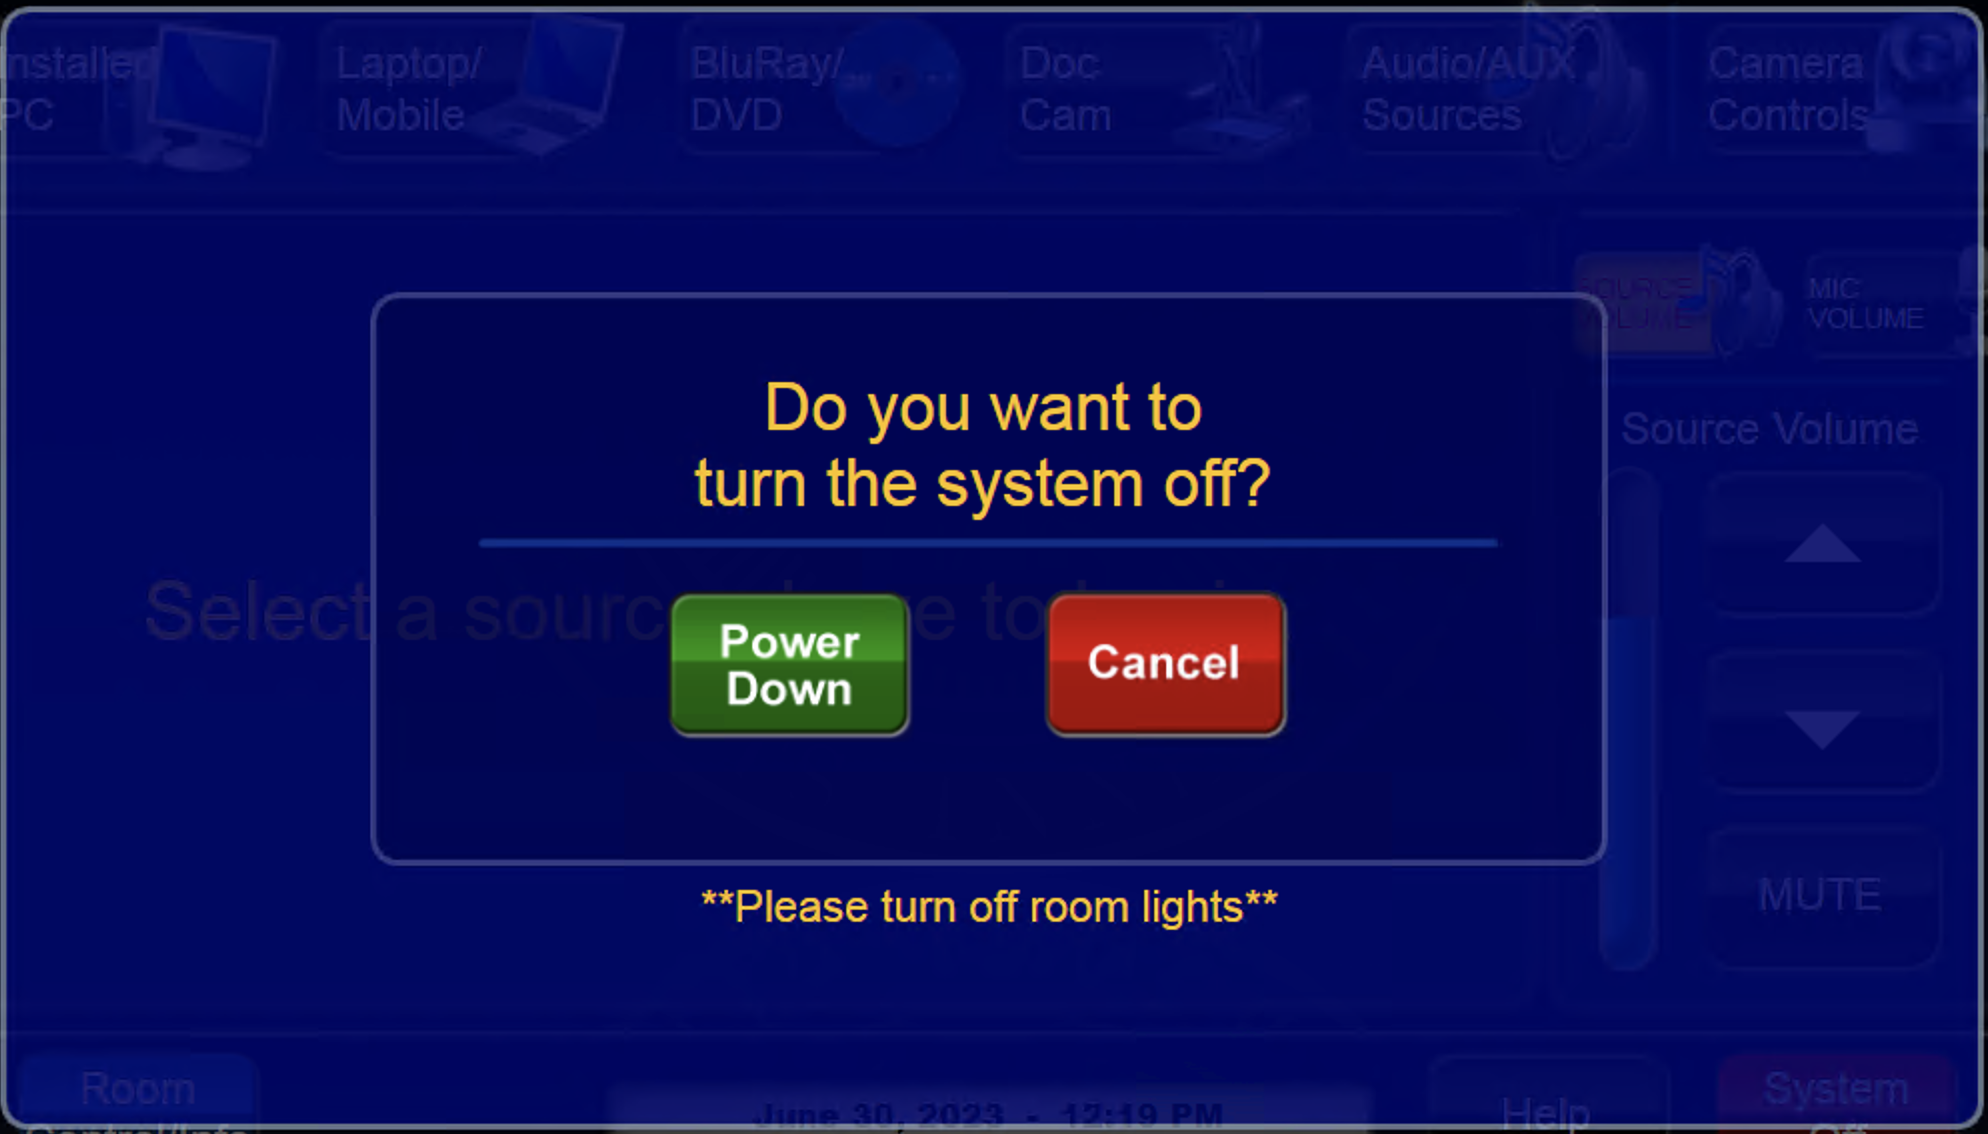
- To shut down the system, press the red System Off button from the main page.
- Then press the green Power Do
 wn button to confirm.
- If using the installed PC, log out of the computer, but do not shut it down. It will go to sleep in low power mode after the user has logged in
- Please return any wireless devices to charger bays
 before leaving!
- News
- Support & Resources
- Services
- IT Governance
- Information Security
- Data Governance
- Policies
- About Us
- Home
Technology Assistance
For immediate classroom technology assistance during business hours, please call:
- Ext. 6-4632 from the installed classroom phone
- 781-736- 4632 from a non-campus phone
For general questions, please email mts@brandeis.edu.
Reservations for Classes
To inquire about classroom availability and reservations for classes, please contact the registrar's office.
- Email: registrar@brandeis.edu
- Phone: 781-736-2010
Planning an event?
For assistance with planning events on campus, please contact University Events.
- Email: ueo@brandeis.edu
- Phone: 781-736-4300