Formatting Text: The “Formats” Menu
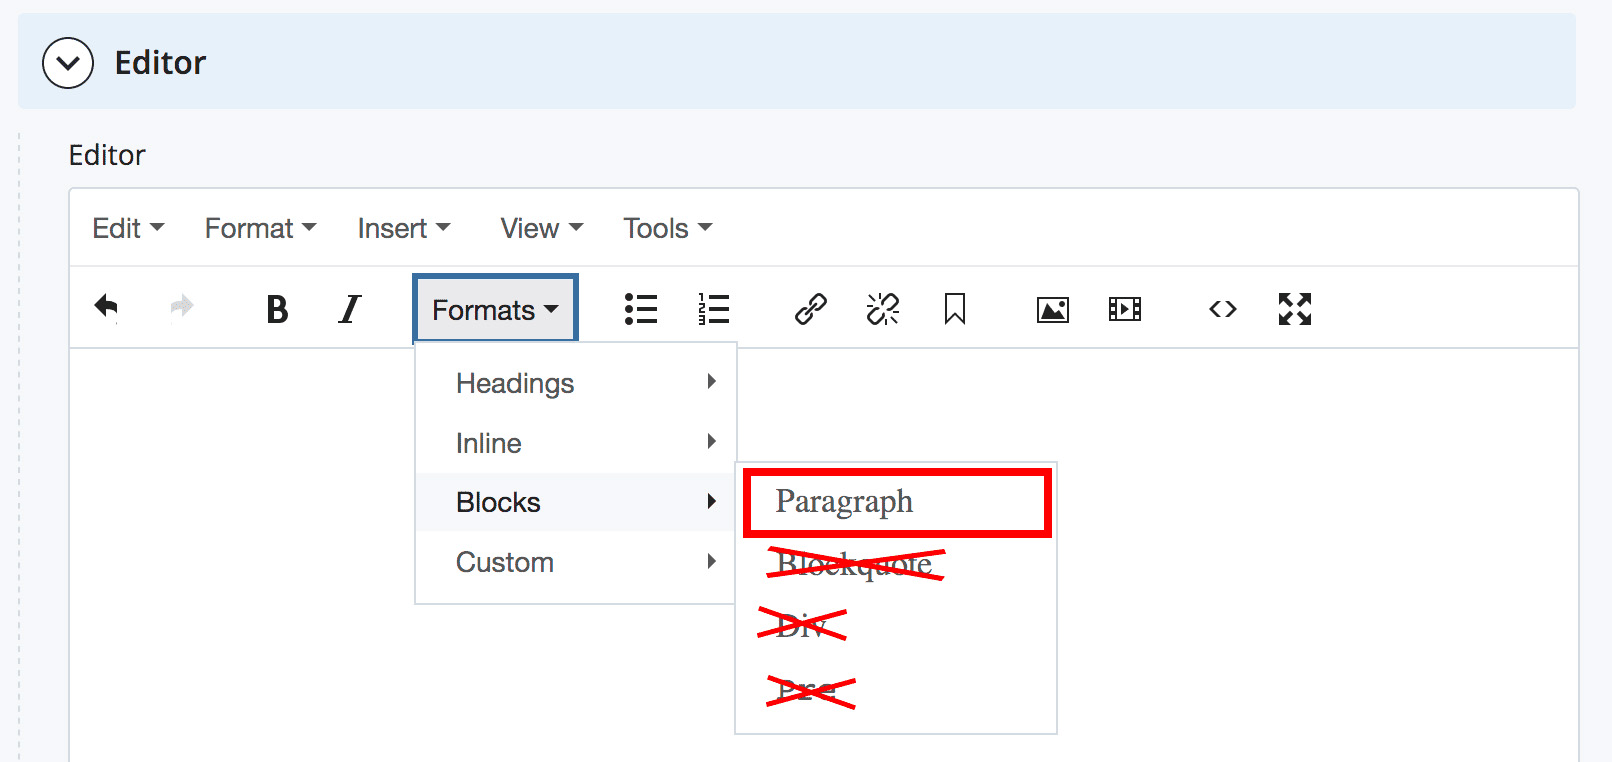
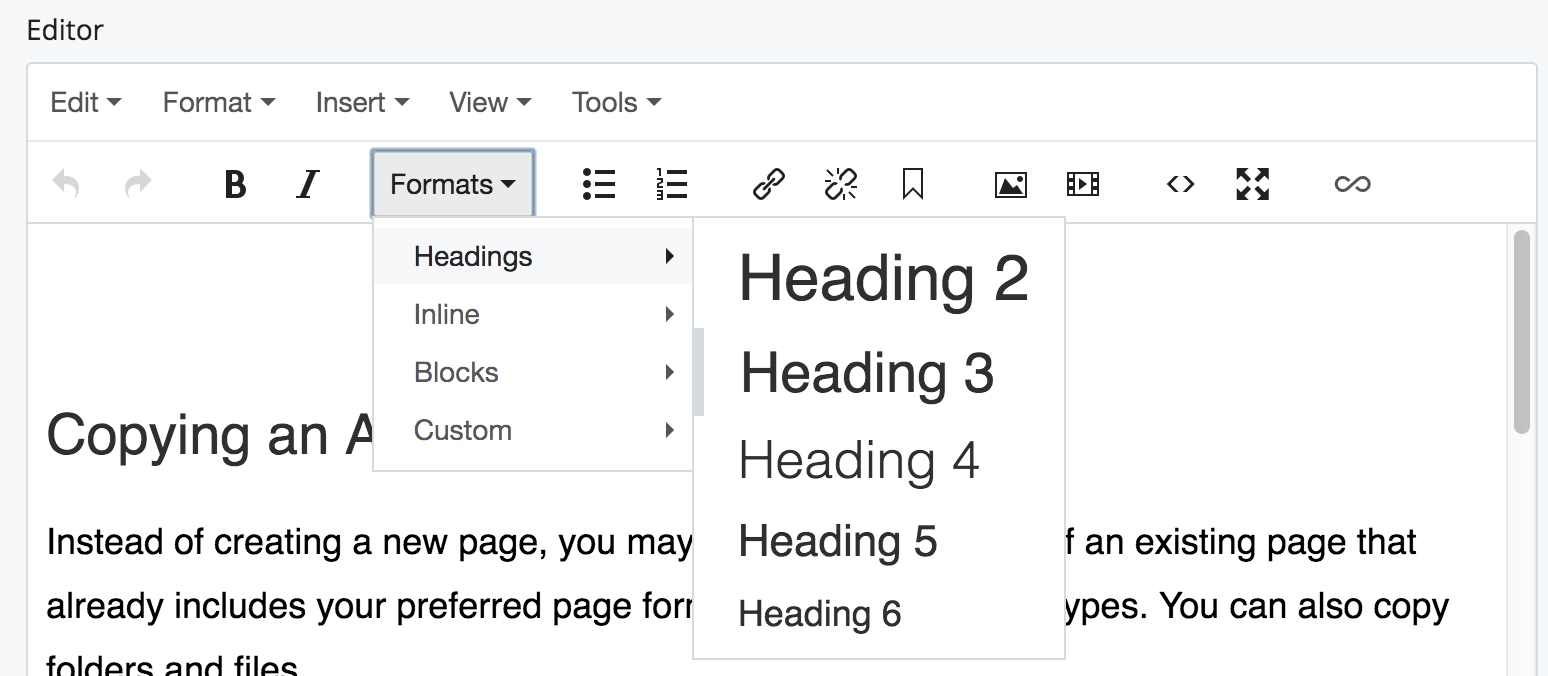
Cascade CMS allows you to apply preformatted styles and formats to text. In the WYSIWYG editor, in the row of icons you will see the Formats dropdown menu. When you want to change the style or formatting for a piece of text, highlight this text, and select the appropriate option from the Formats menu. There are four groups of stylings available in the Formats menu: Headings, Inline, Blocks, and Custom.
“Blocks” Styles
This text uses the Paragraph text format. As a general rule, most multi-sentence blocks of plain text should be styled as Paragraph. Note that pasted or typed text won’t necessarily be styled as paragraphs by default; you will usually need to style text by selecting Paragraph from the Formats/Blocks menu.
Don’t use Blockquote to indent text. Instead, try using the indent or the beige--block style (see below under Custom). Don’t use Div or Pre styles on the Brandeis website.
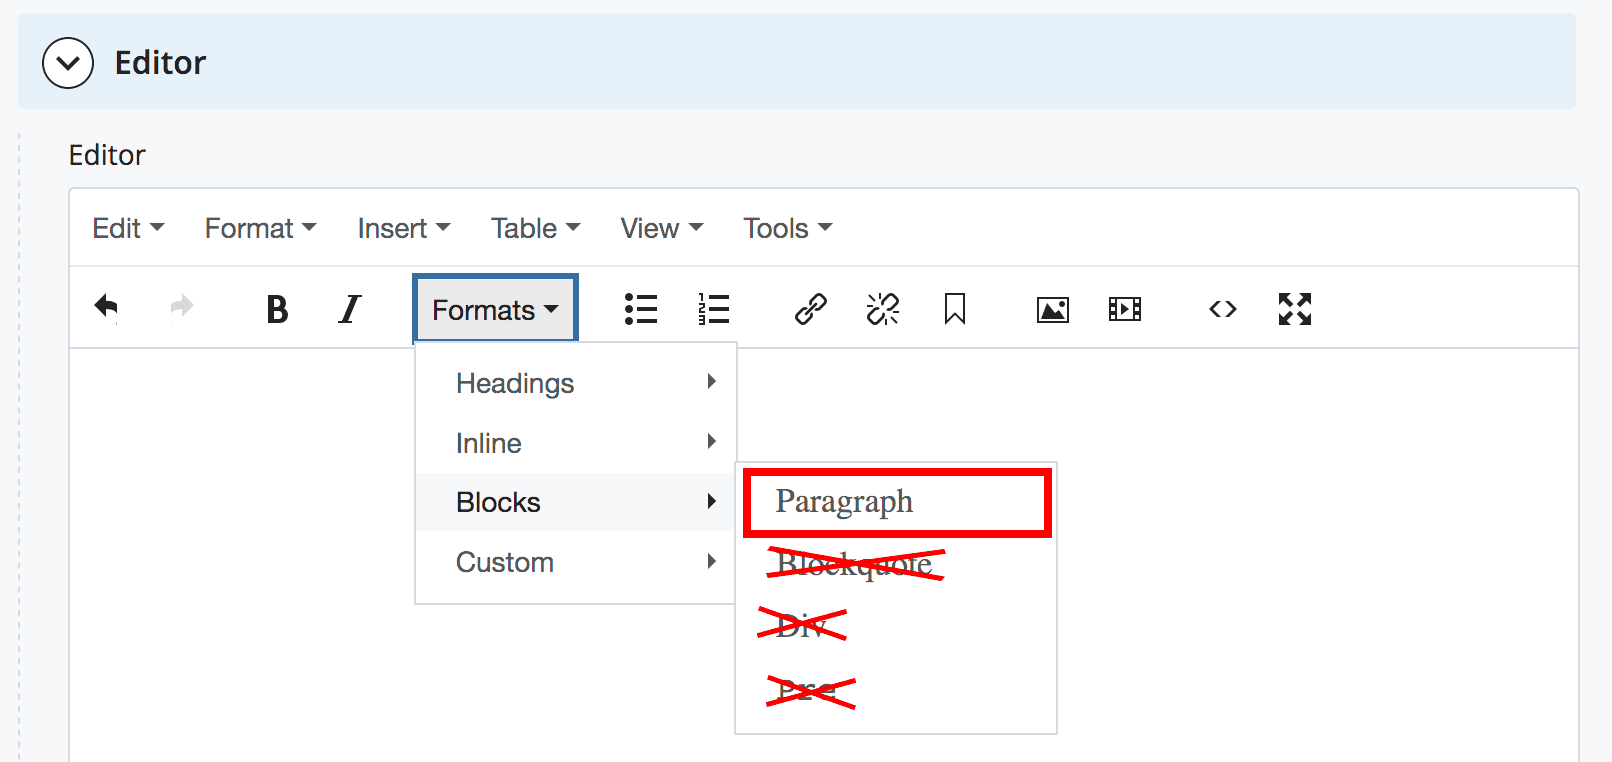
“Custom” Styles
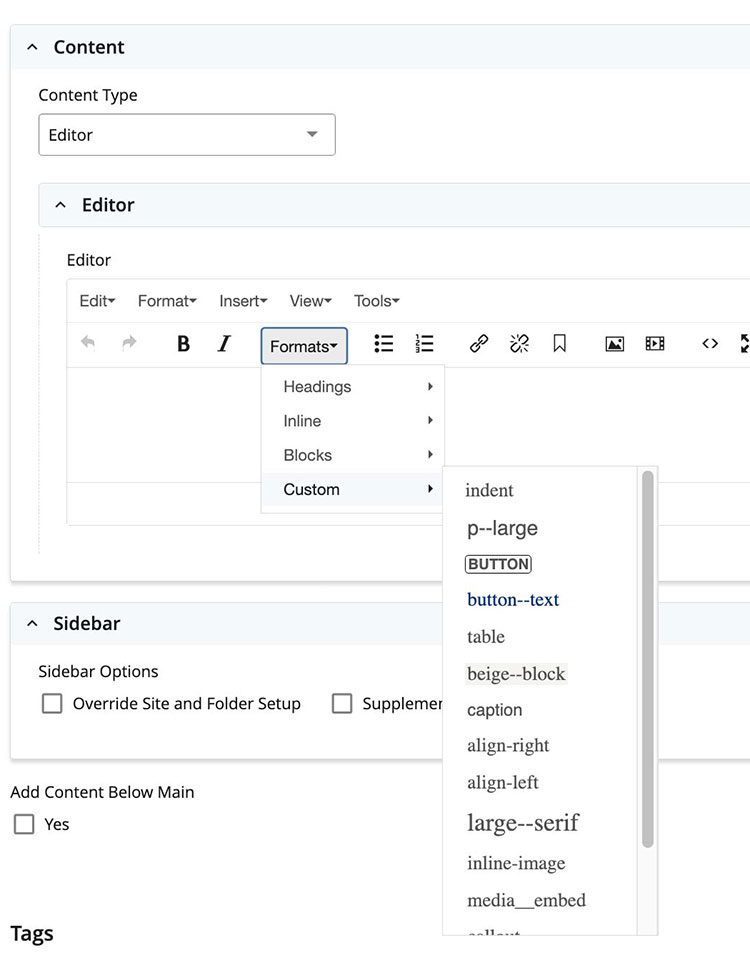
This text uses the indent style. Useful to call attention to pieces of information.
This text uses the p-large style. Useful for introductory page text.
To use the Button Text style with a link, type the text for the link, highlight the text and select Insert/Edit Link. In the class dropdown, select button. After you have inserted the button, highlight the button, and select Formats > Blocks > Paragraph (so it is no longer formatted as paragraph). Then, select button--text from the Styles dropdown.
This text uses the beige--block style.
This text uses the caption style.
This text uses the callout style.
Align Right and Align Left
 align-right and align-left are options in the style drop down that align your content left or right, respectively. They are most often used to align an image to appear to the side of a block of text.
Insert the image at the start of your paragraph; then select the image and choose the style Formats/Custom/align-right. See how the example image at right behaves as you resize your browser window.
Note: You can apply align-right and align-left to images. For example, apply align-right to an image, and nearby text will flow around the left side of the image.
“Headings” Styles
Headings are more than a formatting option; headings inform search engines and provide guidance for those navigating the website using assistive technology.
Search engines understand that a Heading is a keyword related to the content on your page and should be flagged as important. Those using assistive technology use headings to navigate websites, and it's important that headings are used in the correct order without skipping levels.
Tip: Read more about Headings and Page Structure as it relates to accessibility.
This text uses the Heading 2 format.
The Title field of your page is programmed as Heading 2. You will almost never use a Heading 2 in your main content area.
This text uses the Heading 3 format.
Heading 3 is usually the first heading you will use on your site in the main content area.
This text uses the Heading 4 format.
Heading 4 should only be used below a Heading 3.
This text uses the Heading 5 format.
Heading 5 should only be used below a Heading 4.
This text uses the Heading 6 format.
Heading 6 should only be used below a Heading 5.