VPN for Mac
Ivanti Secure Access is the Brandeis-approved VPN software available for free for faculty and staff. Review the following information on downloading, installing, configuring and connecting to Brandeis VPN on a Mac machine.
Download and Install Ivanti Secure Access VPN
Please note that you will need to restart your machine to complete the installation process.
- To gain access to the Brandeis VPN, submit a support ticket via TDX. After submitting your request, you will receive an automated email with software download links and codes.
- Download the software.
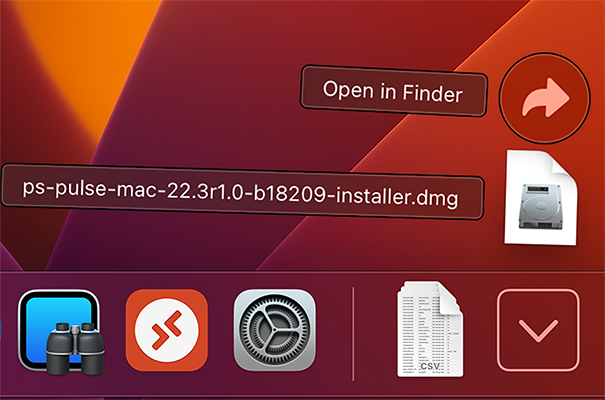
- Locate the Ivanti Secure Access installer file in the 'Downloads' folder, click to install.
4. When prompted, click the Open Security Preferences button, then click Allow.
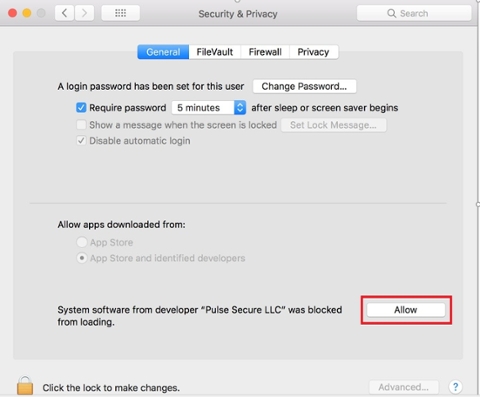
5. Restart your computer.
Configure Ivanti Secure Access VPN
- Open the Ivanti Secure Access application.
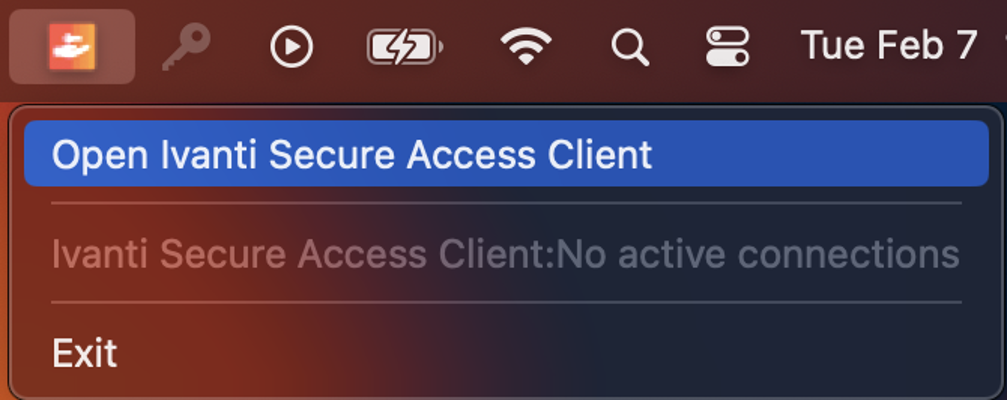
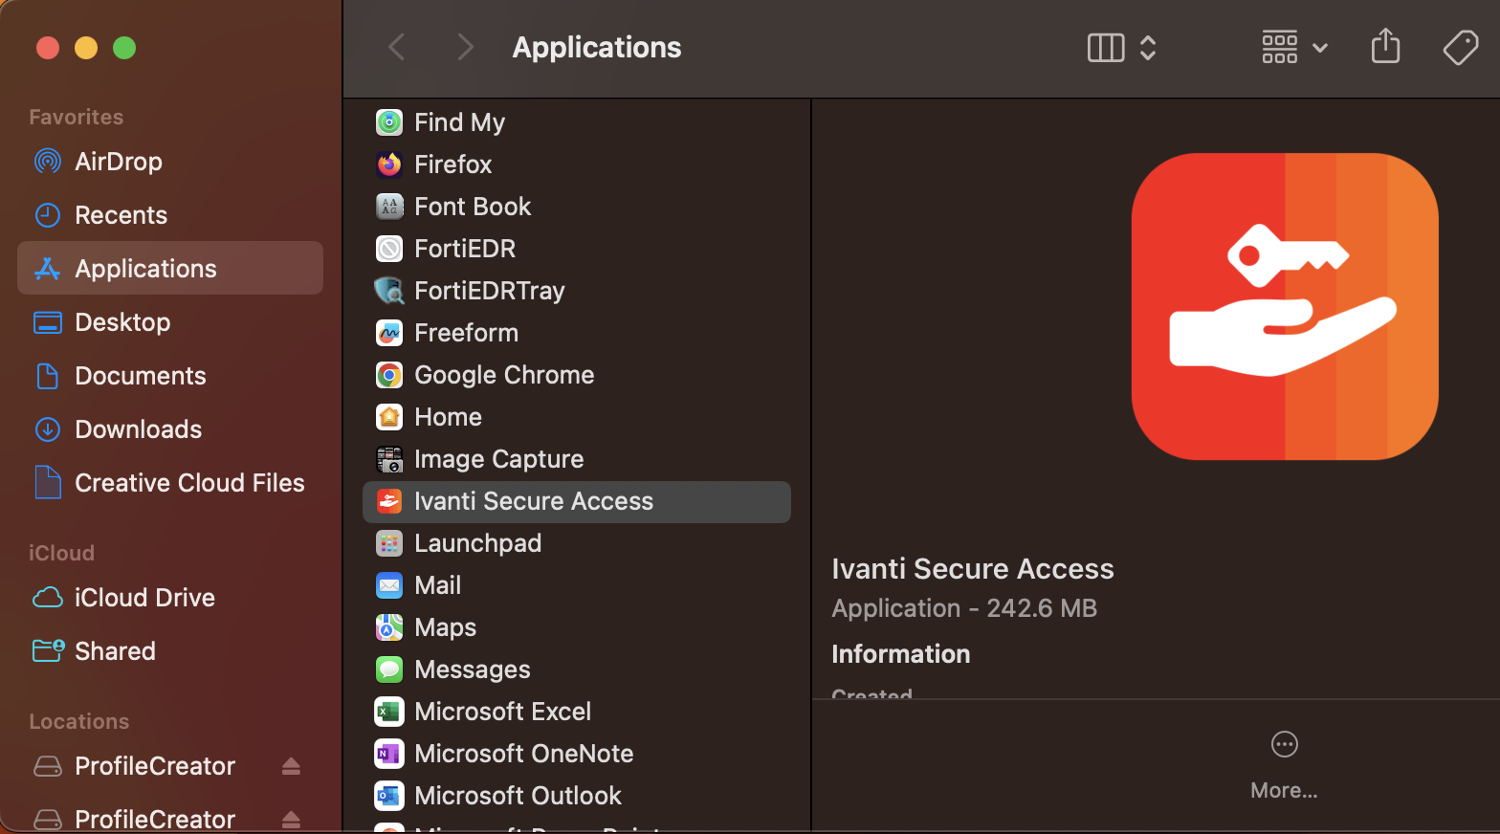
There are two ways to access Ivanti Secure Access - locate the icon in the top right-hand section of your menu bar near the WiFi symbol (option 1) or search for the PulseSecure.app in the Applications folder (option 2).
2. Click the "+" (plus) button to create a new connection.
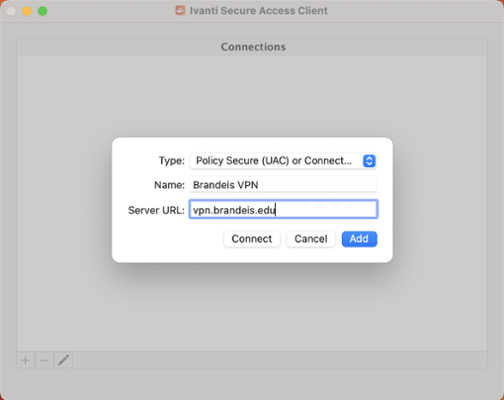
3. Leave the policy default of "Policy Secure (UAC)".
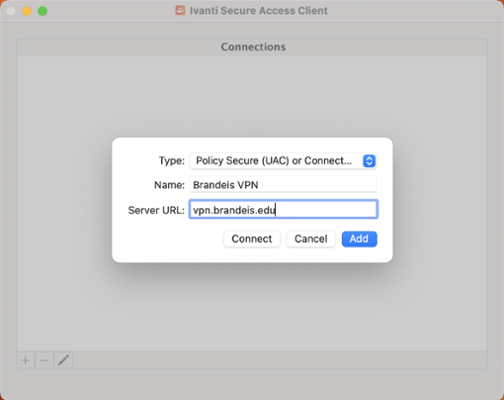
4. In the Server URL field, enter: https://vpn.brandeis.edu.
5. Set an appropriate name like "Brandeis VPN", then click Add.
The Ivanti Secure Access configuration screen will look like this:
Connect to Ivanti Secure Access VPN
-
Launch the Ivanti Secure Access client on your off-campus computer. You can launch from the icon in the top menu bar or search for the PulseSecure in the Applications folder (see options above).
-
Choose Connect.
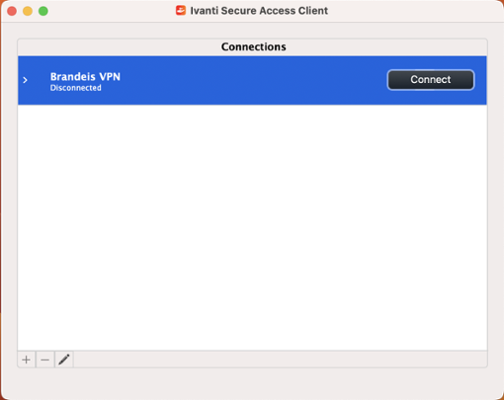
3. Enter your Brandeis credentials (username and password).
4. Follow the prompts for two-factor authentication.
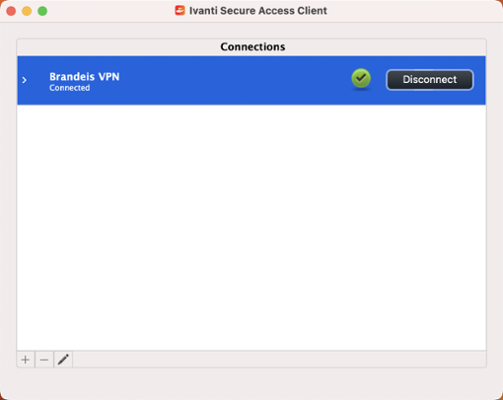
5. When you are successfully connected, you will see a green check mark and status of 'Connected' in the Ivanti Secure Access application. Alternatively, you will see the green arrow Ivanti Secure Accesss logo in the menu bar.
Disconnect from Ivanti Secure Access VPN
Click on the application window and click Disconnect. The status will change to 'Disconnected'. Alternately, click the system tray icon in the menu bar, select the VPN connection, and click Disconnect.
- News
- Support & Resources
- Services
- IT Governance
- Information Security
- Data Governance
- Policies
- About Us
- Home