Creating a Transcript Page
A Transcript page is a page type used alongside video or audio recordings. Transcripts ensure that audio-only content is accessible to people who are hard of hearing or deaf. Descriptive transcripts ensure that key visual information is accessible to people who have a visual impairment or who are blind.
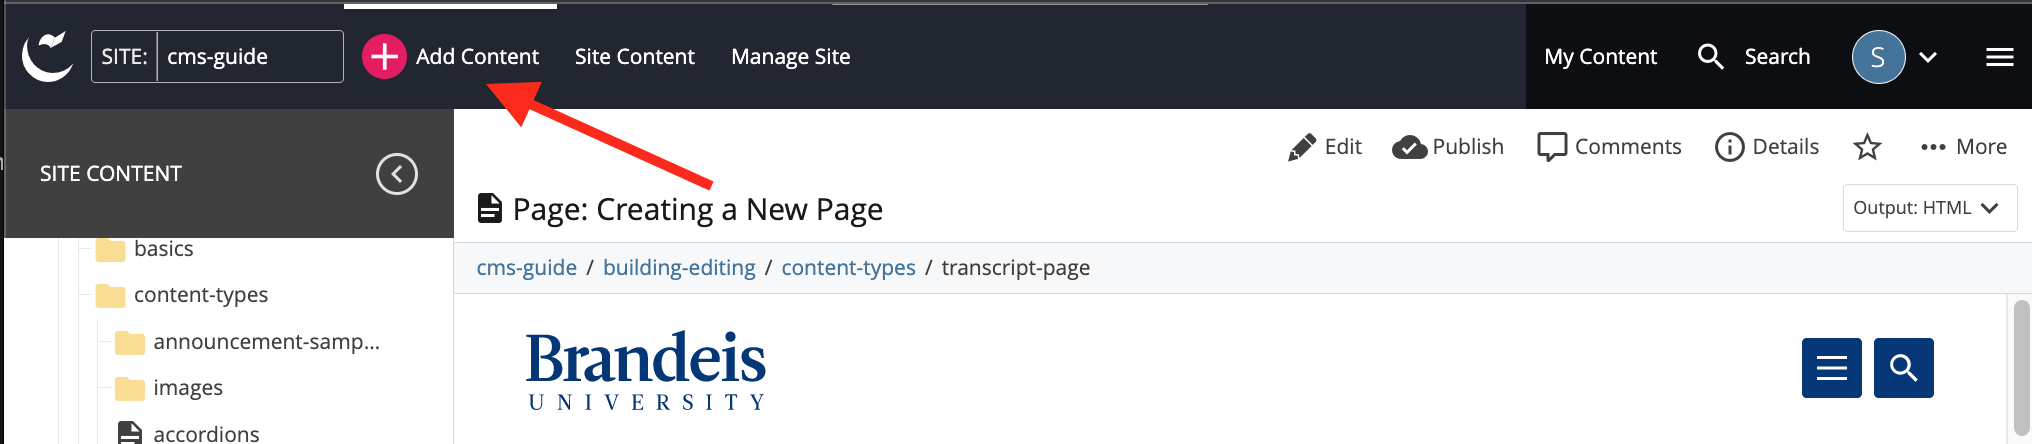
- In the Site Content menu, select the folder in which you want to place your new Transcript page. To do this, hover over the name of the folder and click the right-facing arrow ( > ).
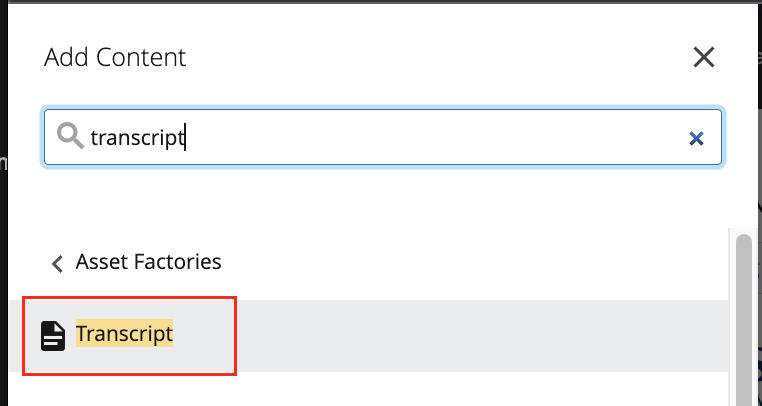
- From the (+) Add Content menu select Transcript.
Note: If you do not see the Transcript asset in your (+) Add Content menu, email cmshelp@brandeis.edu for assistance.
- Your new page will appear in a modal (pop-up) window, starting on the Content tab.
- Enter a Page Name that includes the word "transcript."
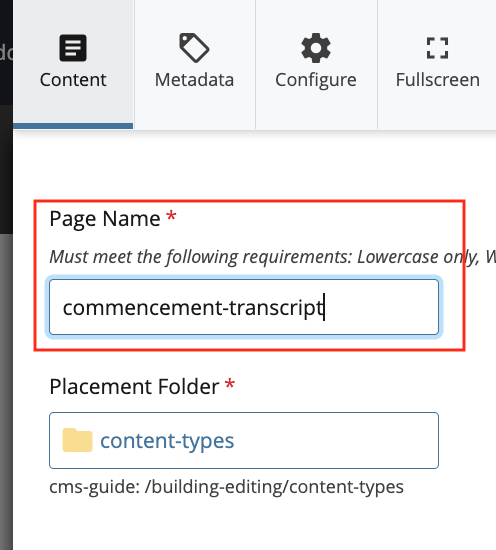
The Page Name will appear online in the URL (.html will be automatically appended during publishing). It is also the name that is displayed in the Site Content menu in the CMS.
For example, the URL for a page with the page name “commencement-transcript” will be www.brandeis.edu/your-site/commencement-transcript.html.
Best Practice: Keep page names short, use 1-3 relevant keywords and only lowercase letters, numbers and dashes. Do not use spaces or underscores. Do include the word transcript in a Transcript page name.
Below Page Name is Placement Folder, the location on your site where the Transcript page is located. Make sure the correct Placement Folder is selected. You can change the Placement Folder by clicking on the folder. The Chooser Panel will open to allow you to select a new destination for the page.
Next, fill in a Title for the Transcript page. The Title field is pre-populated with the text "Video Name." You will need to update this field to be the title of your video. Please use Title Case when composing a Title (for example: Commencement Video, not Commencement video or COMMENCEMENT VIDEO).
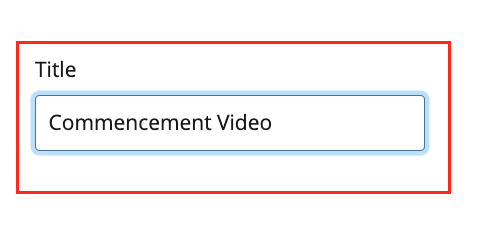 The Title will appear in three places: the browser tab title, the heading of your page and the label in the navigation.
You are now ready to add content to your page.
A Transcript page is pre-populated with two content types.
First Content Type (1/2)
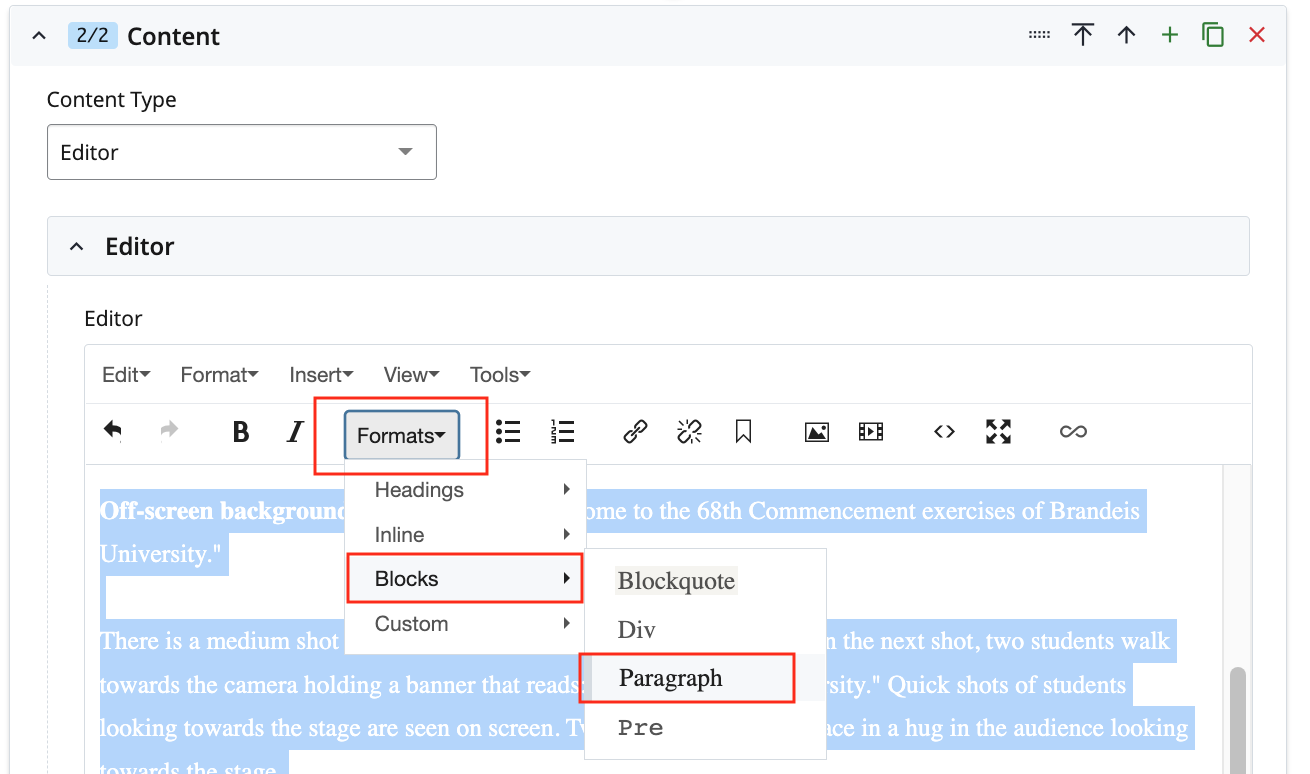
- Expand the first Content Type (1/2) by clicking within the shaded Content bar.
- The WYSIWYG editor will already include the text "Descriptive Transcript" formatted as a Heading 2. Leave that text as is.
- Within the WYSIWYG editor, click directly below the text "Descriptive Transcript" and enter the text for your transcript. You can either type directly into the WYSIWYG editor or copy and paste from a plain text file.
Note: A descriptive transcript should include any information from the video that is spoken or shown on screen (including audio and visual cues). More information on authoring descriptive transcripts is available on the Web Accessibility site.
- Then, highlight all of the copy after the words "Descriptive Transcript" and format the text as Paragraph (Formats > Blocks > Paragraph).
Note: Do not edit or add any content to the second Content Type (2/2). This content type comes pre-populated with important code and should be left as is.
- Once you have entered all of your text, Submit your page.
- Submitting your page saves it in the CMS. For the page to appear on the website, you must then Publish it.
Linking a Transcript to a Video
Once your Transcript Page is created, you can now link to it. Linking to a Transcript Page is the same as linking to any other internal link on your site.
- Media Content Type: In the Transcript field, select the Transcript page you created.
- List Content Type: In the Transcript field, select the Transcript page you created.
- Banner: Feature Carousel: In the Transcript field, select the Transcript page you created.
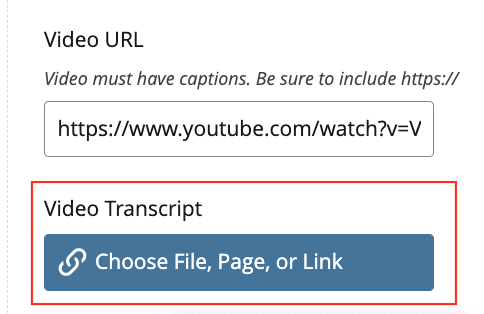
Note: If you are using video in another content type (such as the Editor) that does not display a transcript option, or if you are adding a transcript below an audio recording, you can still create an internal link to your Transcript page.
Publishing
- Publish both the Transcript Page and any pages linking to the Transcript page.
- Once you have published your page(s), check your work on the live website.
Notes: The Transcript link will display at the bottom of the video within the modal widow. It will also open in a new window. This is intentional so that someone viewing the video can have the transcript open alongside it.