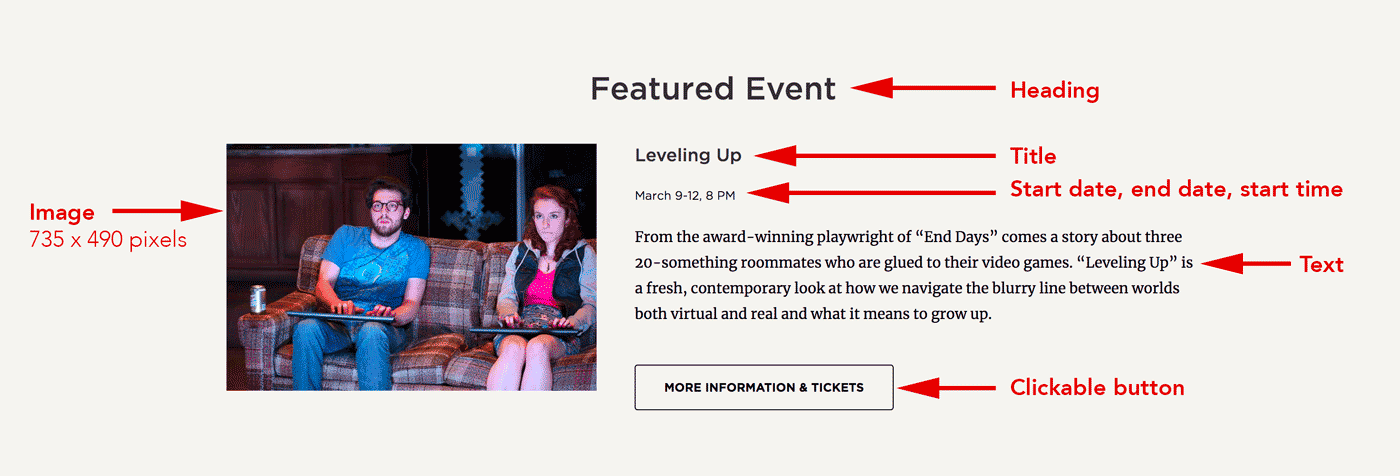
Featured Event
The Featured Event content type can be used to highlight an upcoming event. Your featured event will appear in the Content Below Main area, below your main content area.
(See a sample featured event on the bottom of this page.)
- Navigate to your page and click Edit.
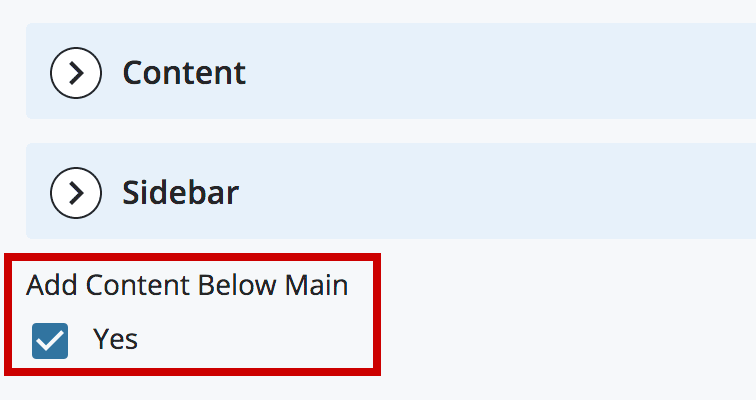
- Scroll down until you see the Add Content Below Main option and check Yes.
- Select Featured Event from the drop-down menu. For Background Color, leave as Beige unless you have multiple Content Below Main modules, in which case you would want to alternate colors for contrast (you can edit this later).
- Click > Featured Event header to expand the contents below.
There are two ways to input content for this module: Manual Entry and using an existing Event Block. Instructions for each follow.
Manual Entry
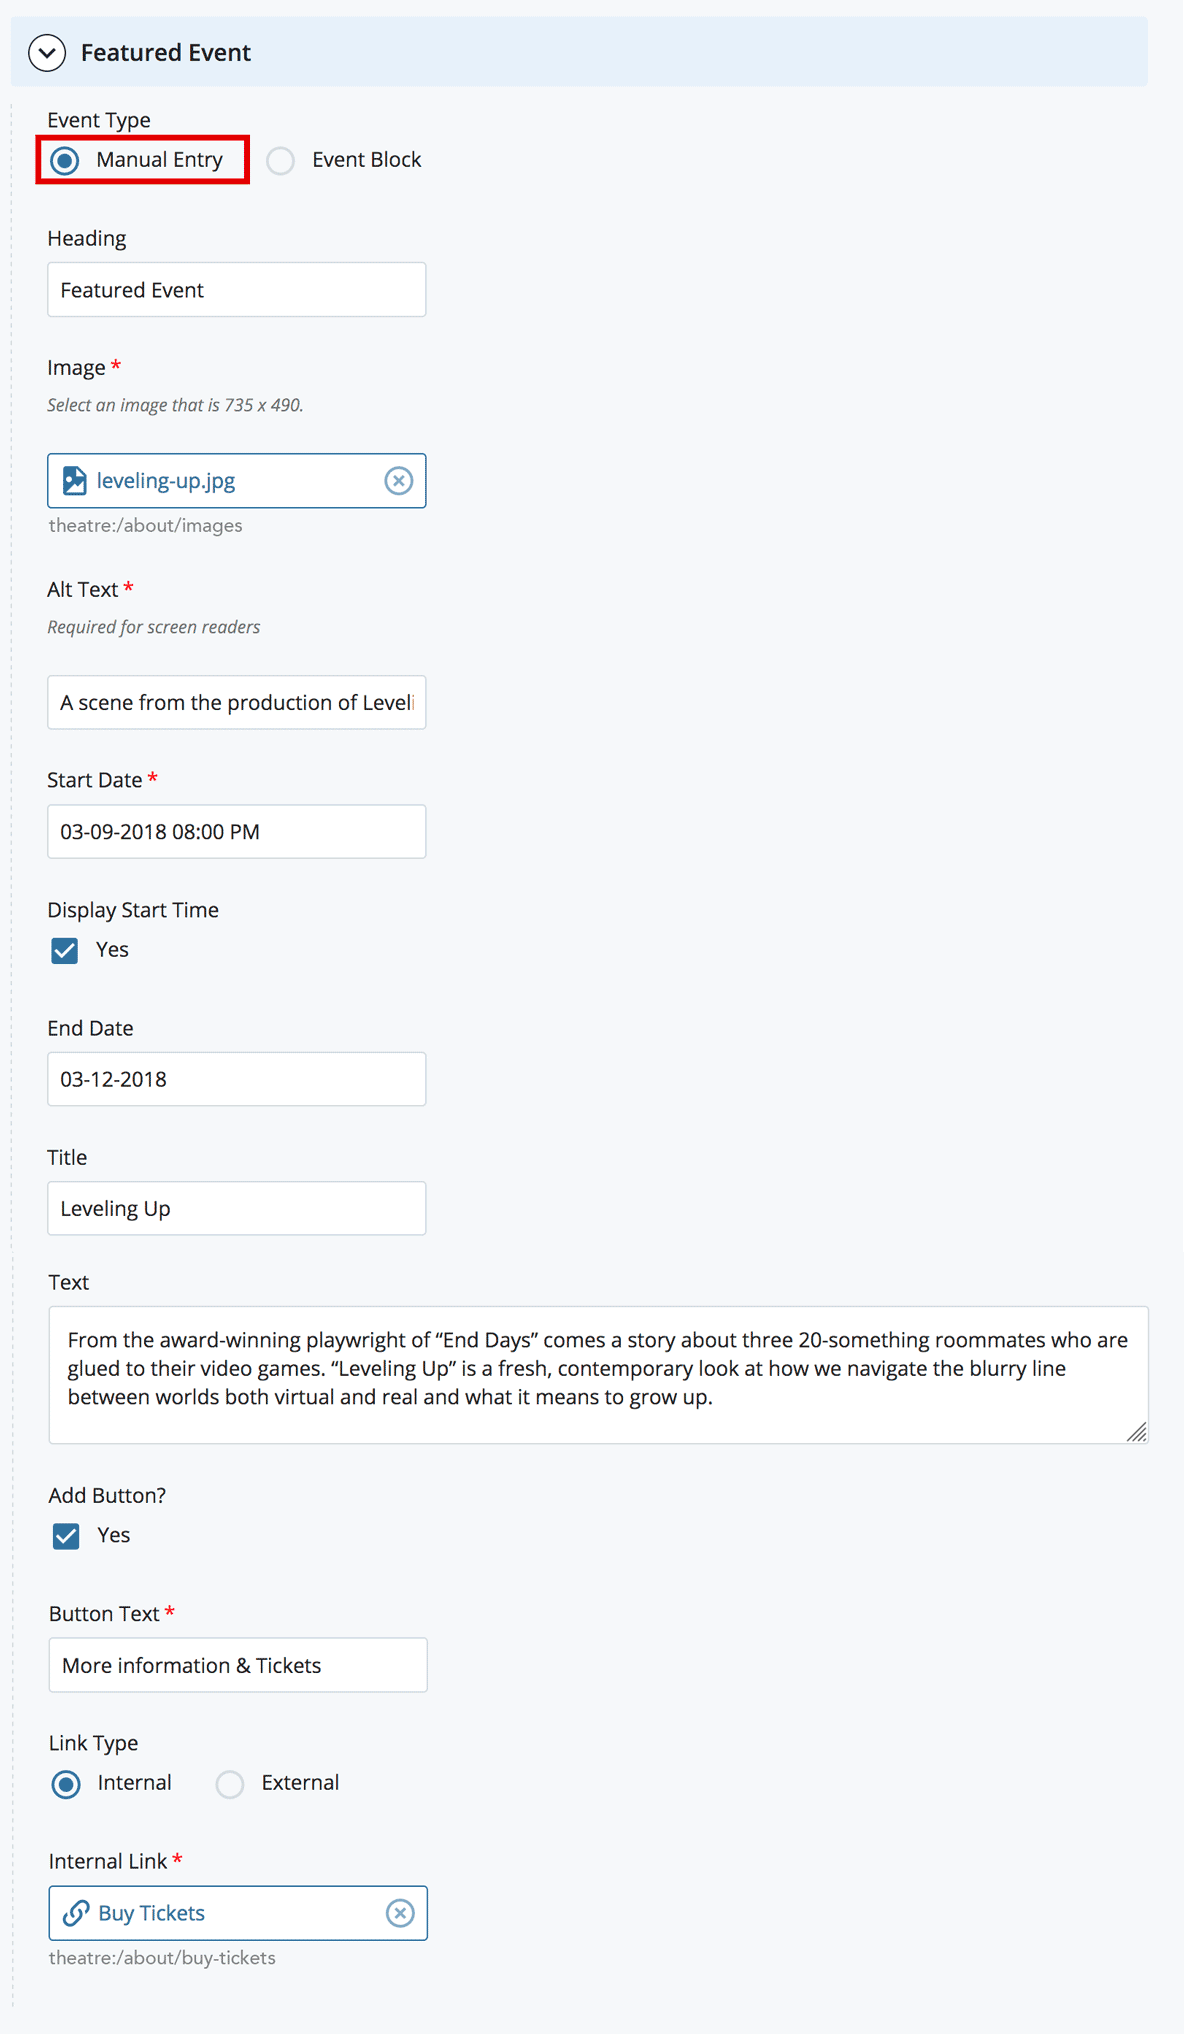
- Heading: Large text centered at the top of the featured event section. Do not duplicate Title field. Suggestions: “Upcoming Event” or “Featured Event”. (optional)
- Image: Select an image you have already uploaded that is 735 x 490 pixels. (required)
- Alt Text: Describe your image. This text will be read to people who cannot see the image. (required)
- Start date: Select a future date from the calendar. (required)
- Display Start Time: This is checked by default. If you do not want a start time to display, uncheck this box.
- End Date: Select an end date from the calendar. (optional)
- Title: Bolded paragraph text in the featured event window. Do not duplicate Heading. (Optional)
- Text: Summary of event (Optional)
- Add Button?: Check the box next to Yes to add a clickable button with link.
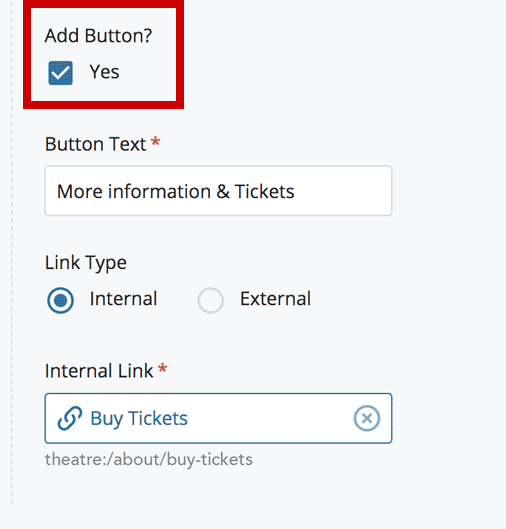
- Button Text: Type the words that you want to serve as your link text.
- Internal/External Link: If you are using an Internal Link, click Choose File, Page, or Link. In the Chooser Panel, you can select a recent internal page, or browse for an internal page. If you are using an External Link, enter the URL, including the https://.
Event Block
To add a Featured Event using the Event Block functionality, you first need to create your Event Block.
- Navigate to _blocks > reusable. Once there, click +Add Content > Event Block.
-
Enter a XHTML/Data Definition Block Name (previously System Name) at the top of theContentscreen.
The XHTML/Data Definition Block Name is the name that is displayed in the navigation panel in Cascade. Unlike the a page name, the XHTML/Data Definition Block Name of a Event Block will not appear in a URL.
Best Practice: Keep names short; use only lowercase letters, numbers and dashes. Do not use spaces or underscores.
- The fields in the Event Block are the same as the fields in the Featured Event manual entry, with two exceptions.
- The Heading for the Featured Event is added when you add the block to a page.
- You need to check the Is this a featured event? box to get the Featured Event Text box to display (this is the same as the Text box in the manual entry above).
- When you have filled in all of the fields, submit.
Then, you need to add the Event Block to your page.
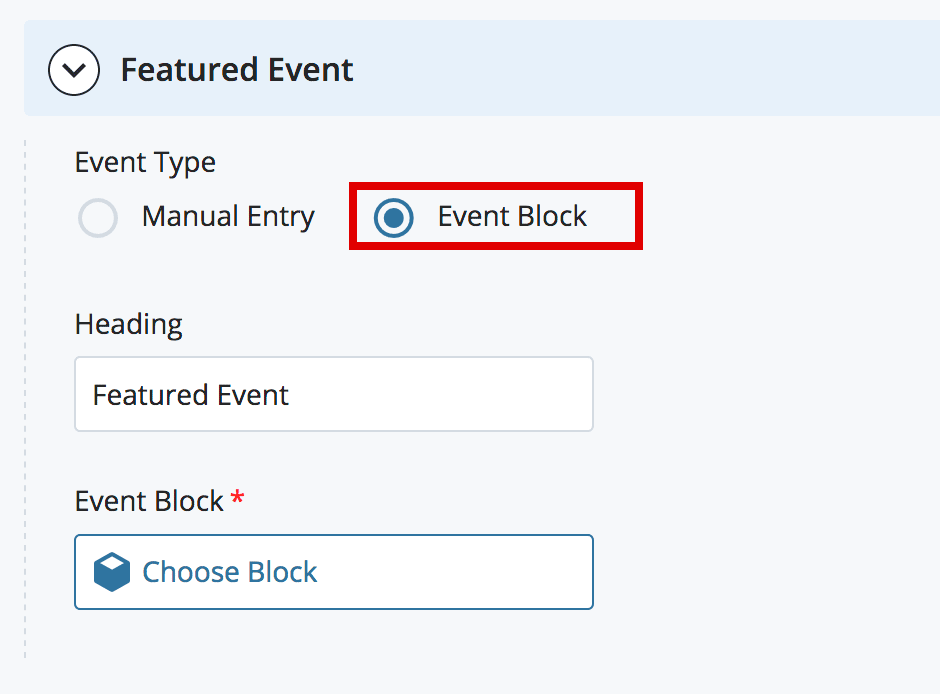
- Select the Event Block radio button.
- Heading is large text centered at the top of the featured event section. Do not duplicate Title field, which will be pulled from your block (Heading can also be left blank). Suggestions: “Upcoming Event” or “Featured Event.”
- Event Block: Search or navigate to the event block you created.
Sample Featured Event

March 9 - March 12
From the award-winning playwright of “End Days” comes a story about three 20-something roommates who are glued to their video games. They are masters of the virtual worlds behind the computer screens in their Las Vegas basement. When one of them uses his gaming skills to land a job with the National Security Agency launching actual drones and missiles, online battles begin to have real consequences. “Leveling Up” is a fresh, contemporary look at how we navigate the blurry line between worlds both virtual and real and what it means to grow up.
